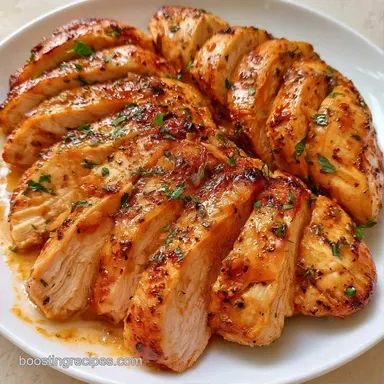
Juicy Seasoned Baked Chicken Breast
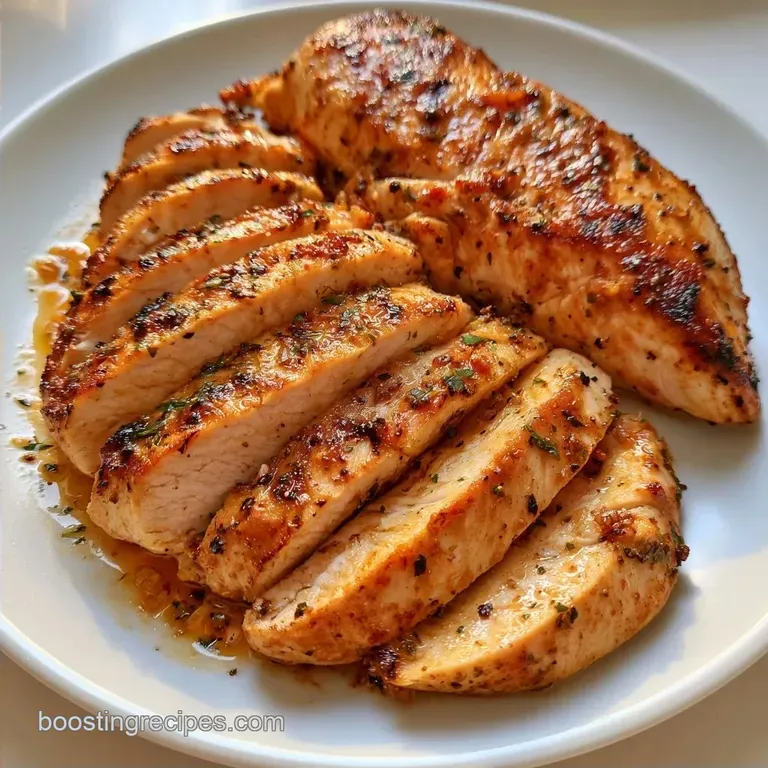
- Time: 10 min active + 20 min baking
- Flavor/Texture Hook: Smoky crust with juicy centers
- Perfect for: Fast weeknight dinners or meal prep
The smell of smoked paprika and garlic hitting a hot oven always reminds me of my first attempt at hosting. Once, at a big family dinner, I served chicken that had the texture of a dry sponge. I had left them in the oven just a few minutes too long, and the meat resisted every chew.
It was a disaster that taught me to stop guessing and start using a thermometer.
Since then, I've focused on the small details. The way you dry the meat and the exact second you take it out of the heat changes everything. You don't need a fancy setup, just a few pantry spices and some patience during the resting phase.
When you follow this approach for a Seasoned Baked Chicken Breast, you get a mahogany colored exterior that looks professional. The meat stays plump and moist, making it a reliable base for almost any meal. It's the kind of dish that feels special but takes almost no effort.
Seasoned Baked Chicken Breast Specs
Getting the timing right is the difference between a juicy dinner and something you have to wash down with a gallon of water. For this recipe, we use a high temperature to sear the outside quickly without drying out the core.
The key is the "pull temperature." We remove the meat before it technically hits the safety mark because the internal heat continues to climb while it rests on the plate. This carryover cooking is what keeps the juices from evaporating.
| Goal | What to change |
|---|---|
| Extra Crispy | Increase oven to 425°F |
| Thicker Breasts | Add 3-5 minutes |
| Leaner Meat | Reduce oil to 1 tbsp |
Key Techniques Explained
The results come down to physics, not magic. By managing moisture and heat, we control the texture of the protein.
- Surface Dryness: Removing water from the skin prevents the meat from steaming, which allows a brown crust to form.
- Carryover Heat: Pulling the meat at 160°F lets the temperature rise to 165°F slowly, preserving the moisture.
| Thickness | Oven Temp | Rest Time | Visual Cue |
|---|---|---|---|
| 1 inch | 400°F | 5 mins | Golden brown |
| 1.5 inches | 400°F | 10 mins | Deep mahogany |
| Uneven | 400°F | 7 mins | Firm to touch |
Gathering Your Essentials
I prefer using boneless, skinless breasts for this, but the seasoning works on almost any white meat. Make sure your spices are fresh; old paprika loses its punch and won't give you that rich color.
| Ingredient | What It Does | Best Swap |
|---|---|---|
| Olive Oil | Bonds spices to meat | Avocado oil (high smoke point) |
| Smoked Paprika | Adds color and woodsy flavor | Sweet paprika (less smoky) |
| Garlic Powder | Provides savory base | Fresh minced garlic (adds moisture) |
| Cayenne Pepper | Adds a subtle heat | Chili powder (milder, earthier) |
The Full List:
- 6 boneless skinless chicken breasts (approx. 6 oz each)
- 2 tbsp olive oil
- 1 tsp saltWhy this? Enhances all other spices
- 1/2 tsp black pepper
- 1 tsp garlic powder
- 1 tsp onion powder
- 1 tsp smoked paprikaWhy this? Gives the mahogany color
- 1/2 tsp dried oregano
- 1/4 tsp cayenne pepperWhy this? Tiny kick of heat
Basic Tools Needed
Keep things simple. A standard baking sheet and a few basic tools are all you'll need. I always line my pan with parchment paper to avoid the tedious chore of scrubbing away baked-on spices.
The only absolute must have is a meat thermometer. If you check for clear juices by slicing into the middle, you're allowing heat and moisture to escape. For the best precision, use a digital probe.
Chef's Note: Should your chicken breasts vary significantly in size, use a meat mallet to pound the thickest parts. This ensures every piece finishes cooking at the same time.
Bringing It Together
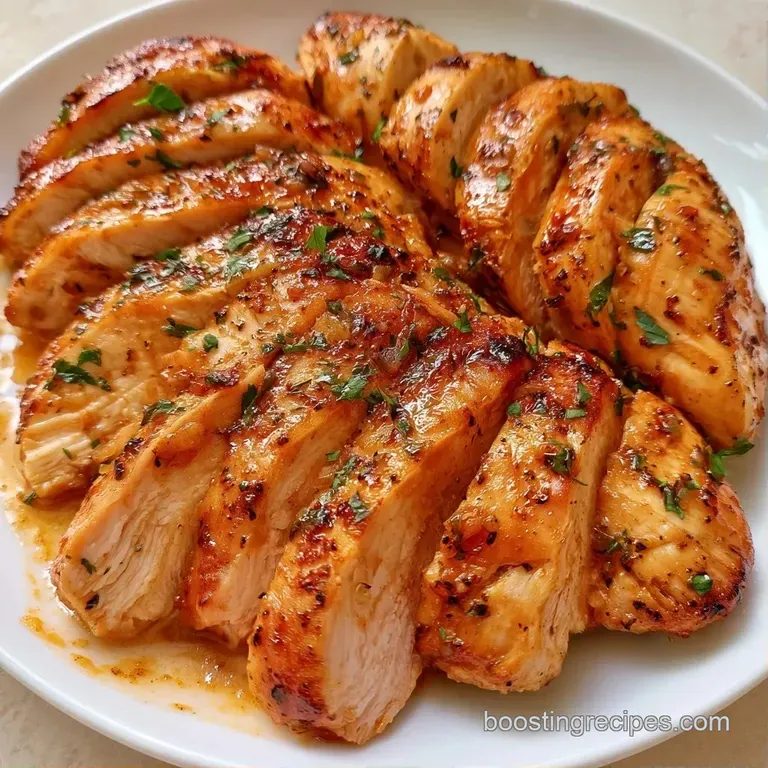
Now, let's prepare the poultry. We want an even layer of spices to ensure consistent flavor in every single bite.
- Use paper towels to pat each chicken breast completely dry. Note: This prevents the meat from steaming.
- Coat the breasts with olive oil, rubbing it in well. Note: This acts as a glue for the rub.
- In a small bowl, combine salt, black pepper, garlic powder, onion powder, smoked paprika, dried oregano, and cayenne pepper.
- Dust both sides of the chicken with the spice mix, pressing it into the meat with your palms.
- Arrange the prepared chicken on a baking sheet lined with parchment. Note: Leave an inch of space between pieces.
- Roast in a preheated oven at 400°F (200°C) for 18–22 minutes until the edges are golden and the meat feels firm.
- Use a meat thermometer on the thickest part of the largest breast; take them out when the temperature hits 160°F (71°C).
- Move the chicken to a plate and cover loosely with foil. Let it rest for 5–10 minutes until it reaches 165°F (74°C).
Following USDA recommends guidelines, the safe internal temperature for poultry is 165°F, which is achieved during the resting phase.
Fix Common Problems
Even when you follow the steps, things can happen depending on your oven. Most issues are easy to fix once you know what to look for.
Fixing Dry Meat
If your chicken comes out dry, you likely overshot the pull temperature. Even a two minute difference can dry out a lean breast. Next time, pull the meat at 155°F if you have a very hot oven, as the carryover heat might be more aggressive.
Sticking Seasoning
When spices clump or slide off, it's usually because the chicken was too wet. If you see a "paste" instead of a crust, you need more paper towels. The oil should be a thin film, not a puddle, to keep the rub adhered to the meat.
Pale Chicken
If your Seasoned Baked Chicken Breast looks white instead of mahogany, your oven might not be reaching 400°F. Use an oven thermometer to verify the heat. Alternatively, ensure you're using smoked paprika, as regular paprika is lighter in color.
Freezer and Reheat Guide
This recipe is a staple for me because it holds up so well. I often make a double batch on Sundays to save time during the week.
Fridge Storage Keep the chicken in a sealed glass container for up to 4 days. To keep it from drying out, I recommend slicing it into strips before storing and adding a tiny splash of olive oil or lemon juice.
Freezer Storage You can freeze the cooked breasts for 2-3 months. Wrap them tightly in foil and then place them in a freezer bag to prevent freezer burn.
Best Reheat Method Avoid the microwave if you can. Instead, place the chicken in a pan with a tablespoon of water or broth over medium low heat. Cover it with a lid for 3-5 minutes. This steams the meat back to life without toughening the proteins.
Creative Flavor Twists
Once you have the base method down, you can play with the spices. The logic remains the same: oil first, then rub, then high heat.
Zesty Lemon Version
Swap the smoked paprika for lemon pepper seasoning and add a pinch of dried thyme. Squeeze fresh lemon juice over the meat immediately after it comes out of the oven for a bright, sharp finish.
Spicy Chipotle Kick
Replace the cayenne and paprika with chipotle powder. This adds a deep, smoky heat that pairs well with avocado or corn salsas. If you love a sticky glaze, you can brush on some honey garlic chicken sauce during the last 5 minutes of baking.
Keto and Paleo Swap
This recipe is naturally low carb. To keep it strictly Paleo, just ensure your garlic and onion powders are organic and free of added cornstarch or anti caking agents.
Best Pairing Ideas
The beauty of this dish is its versatility. Because the seasoning is savory and slightly smoky, it matches with almost any side.
The Healthy Power Bowl Slice the breast and place it over a bed of quinoa or cauliflower rice. Add steamed kale, shredded carrots, and a dollop of hummus. It's a filling lunch that doesn't cause a mid afternoon crash.
The Classic Comfort Plate Pair your Seasoned Baked Chicken Breast with garlic mashed potatoes and roasted green beans. The juices from the resting meat act as a light sauce for the potatoes.
Quick Lunch Ideas If you're in a rush, slice the cold chicken and toss it into some chicken wraps with a zesty peanut sauce and crunchy slaw. It transforms the dinner leftovers into a completely different meal.
Debunking Kitchen Myths
Let's clear up some common misconceptions about cooking chicken.
Searing meat doesn't actually "seal in the juices." Whether you brown it first or bake it immediately, moisture loss is determined by the final internal temperature. The crust is for flavor, not for trapping water.
Resting the meat is a necessity, not just a suggestion. If you carve the chicken immediately after it leaves the oven, the juices will spill onto the board, leaving the meat dry. Resting allows the fibers to relax and reabsorb those liquids.
Recipe FAQs
How should I season my chicken breast for the oven?
Rub with olive oil first, then apply a blend of salt, pepper, garlic powder, onion powder, smoked paprika, oregano, and cayenne. Pressing these spices into the meat ensures a flavorful mahogany crust.
Does 400°F work better than 350°F for baking?
Yes, use 400°F. High heat sears the exterior quickly, which locks in the juices and prevents the center from overcooking.
What prevents the meat from becoming dry?
Remove the chicken from the oven at 160°F. Resting the meat under foil for 5-10 minutes allows carryover cooking to reach 165°F without evaporating the moisture.
Is it true that chicken must reach 165°F inside the oven?
No, and here's why. Pulling the meat at 160°F ensures the final temperature hits 165°F during the resting phase, avoiding a dry, sponge like texture.
Which blend creates the most flavor?
Combine smoked paprika, garlic powder, and onion powder. These specific pantry spices provide a deep, savory profile and a professional color.
Can I use this seasoning for chicken alfredo?
This savory rub complements cream sauces beautifully. If you enjoyed building these layers of flavor, you can apply a similar method to our chicken parmesan.
Why should I pat the chicken dry first?
Surface moisture prevents browning. Removing water with paper towels allows the oil and spices to adhere properly for a better crust.
Seasoned Baked Chicken Breast