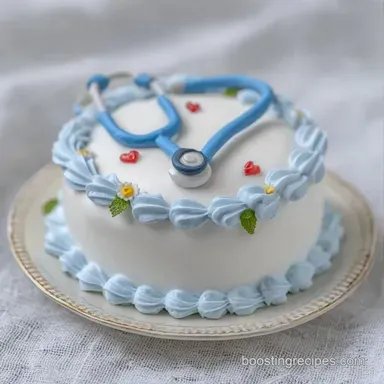
Easy Nursing Graduation Cake: Tender and Buttery
- Time: 30 min active + 2 hours 35 mins baking/cooling
- Flavor/Texture Hook: Velvety buttercream with a tender, buttery crumb
- Perfect for: Nursing school graduation parties, RN celebrations, or clinic potlucks
- Easy Nursing Graduation Cake
- Tips for a Professional Look
- Quick Cake Breakdown
- What Actually Makes it Fluffy
- Component Analysis
- What You'll Need
- Essential Kitchen Tools
- Step by Step Process
- Fixing Common Cake Issues
- Troubleshooting Common Issues
- Different Flavors and Swaps
- Adjusting the Serving Size
- Debunking Cake Myths
- Saving and Storing Cake
- Best Ways to Serve
- Recipe FAQs
- 📝 Recipe Card
The smell of warm vanilla and browned butter is honestly the best part of baking. I remember the first time I tried to make a celebration cake for my cousin who just finished her clinicals. I wanted something that looked sharp, but I was terrified of the frosting sliding off or the cake sinking in the middle.
I ended up with a lopsided mess that looked more like a science experiment than a dessert, but it taught me exactly where I went wrong.
That experience is why I've streamlined this process. You don't need fancy fondant molds or a rotating cake stand to make something impressive. This Easy Nursing Graduation Cake relies on a few simple tricks, like whipping the butter until it's almost white, to get that smooth, high end finish.
Whether you're celebrating a new RN or an LPN, the goal here is a cake that tastes like a classic bakery treat but doesn't cost a fortune. We're using standard pantry staples and a bit of creativity with a few drops of blue coloring to make it stand out on the dessert table.
Easy Nursing Graduation Cake
Since we're going for a professional look on a budget, we're using a 9x13 pan. It's way more stable than a round layer cake, which means less stress for you and a higher chance of the decorations staying exactly where you put them.
Trust me, the last thing you want while celebrating a graduation is a cake that decides to lean to the left.
The secret to this specific recipe is the balance between the sponge and the frosting. A heavy cake will crush under the weight of fondant, but a cake that's too light won't support the stethoscope and cap decorations. We've hit the sweet spot here with a sturdy but tender vanilla base.
Tips for a Professional Look
When you're making a celebratory cake, the "look" is half the battle. But you don't need to be a pro. It's all about the preparation. If you rush the cooling process, your frosting will melt into a puddle, and you'll be staring at a blue soup instead of a cake. Give it time.
For the piping, the pressure you apply to the bag is everything. I once tried to pipe a name while I was rushing, and the frosting squeezed out in one giant blob. Now, I practice my lettering on a plate of parchment paper first.
It takes two minutes but saves you from having to scrape and re frost the entire top of the cake.
Chef's Note: If your hands are too warm, the buttercream can soften while you're piping. Pop the piping bag in the fridge for 5 minutes if you feel the frosting getting too loose.
Quick Cake Breakdown
Before we jump into the flour and sugar, let's look at how this compares to the "shortcut" methods. Some people suggest using a boxed mix, but for a Nursing Graduation Cake, you want a crumb that can actually hold the weight of the fondant.
| Feature | Homemade Sponge (This Recipe) | Box Mix Shortcut | Impact on Final Look |
|---|---|---|---|
| Structure | Dense and stable | Airy and fragile | Homemade supports fondant better |
| Flavor | Real butter and vanilla | Artificial vanilla | Homemade tastes professional |
| Control | Adjustable sweetness | Very sweet | Homemade balances with frosting |
What Actually Makes it Fluffy
You might wonder why we spend so much time creaming the butter and sugar. It's not just about mixing them; it's about air.
Air Incorporation: Beating butter and sugar creates tiny air pockets that the baking powder then expands in the oven. This is what prevents the cake from becoming a brick.
Protein Balance: Using all purpose flour provides enough gluten to keep the cake from crumbling when you slice it, but not so much that it becomes chewy like bread.
Fat Distribution: Adding eggs one by one ensures the emulsion doesn't break. If you dump them all in, the batter can separate, leading to a greasy texture.
Component Analysis
I've found that using basic ingredients in the right way beats buying "specialty" cake flour every time. According to King Arthur Baking, all purpose flour is versatile enough for most celebration cakes if you don't overwork the batter.
| Ingredient | Science Role | Pro Secret |
|---|---|---|
| Unsalted Butter | Provides structure and flavor | Must be softened, not melted, for air pockets |
| Powdered Sugar | Stabilizes the frosting | Sift it to avoid tiny white lumps in the blue tint |
| Whole Milk | Adds moisture and tenderness | Room temperature prevents the butter from curdling |
| Corn Syrup | Acts as a food safe glue | Use a tiny dot to stick fondant to frosting |
What You'll Need
Stick to these measurements. Baking is more like chemistry than cooking, so a "handful" of flour can be the difference between a fluffy cake and a hockey puck.
For the Sponge:
- 3 cups (375g) all purpose flourWhy this? Sturdy enough for decorations
- 2 cups (400g) granulated sugar
- 1 tbsp (15g) baking powder
- 1/2 tsp (3g) salt
- 1 cup (225g) unsalted butter, softened
- 4 large eggs (200g)
- 1 cup (240ml) whole milk
- 2 tsp (10ml) vanilla extract
For the Frosting & Decor:
- 2 cups (450g) unsalted butter, softened
- 6 cups (720g) powdered sugar
- 3 tbsp (45ml) heavy cream
- 1 tsp (5ml) vanilla extract
- 2 drops (1ml) royal blue food coloringWhy this? Deep blue for nursing themes
- 4 oz (115g) white fondant
- 1 tbsp (15ml) corn syrup
- Red food coloring gel
Ingredient Swaps:
| Original Ingredient | Substitute | Why It Works |
|---|---|---|
| Whole Milk (1 cup) | Buttermilk (1 cup) | Adds a slight tang and makes the crumb softer |
| Heavy Cream (3 tbsp) | Whole Milk (3 tbsp) | Works fine, but frosting will be slightly less stable |
| All Purpose Flour | Cake Flour | Finer crumb, but the cake may be too soft for heavy fondant |
Essential Kitchen Tools
You don't need a professional kitchen, but a few basics make this Easy Nursing Graduation Cake much easier to assemble.
- 9x13 inch baking pan
- Parchment paper (don't skip this, or the cake will stick)
- Electric hand mixer or stand mixer (such as KitchenAid)
- Offset spatula or a warm butter knife for smoothing
- Piping bags and a small round tip
- Rolling pin (or a smooth wine bottle) for the fondant
Step by step Process
Let's crack on with the actual baking. Remember to keep your ingredients at room temperature so everything blends smoothly.
Phase 1: The Rapid Bake
- Preheat your oven to 350°F (175°C) and line your 9x13 inch baking pan with parchment paper. Note: Leave an overhang on the sides to lift the cake out easily.
- Cream the butter and sugar for about 3-5 mins until light and fluffy, then incorporate eggs one by one.
- Fold in the flour, baking powder, and salt alternating with the milk and vanilla extract. Note: Stop mixing the second the batter is smooth to avoid a tough cake.
- Pour batter into the pan and bake for 30-35 minutes until a toothpick comes out clean and edges are lightly golden.
- Allow the cake to cool completely in the pan. Note: If you frost a warm cake, the butter in the frosting will melt instantly.
Phase 2: The Medical Grade Frosting
- Beat the butter for 5 minutes until it looks nearly white. This is the secret to a velvety texture.
- Slowly add powdered sugar and heavy cream. Beat until the frosting holds a stiff peak, then stir in the vanilla.
- Divide the frosting: keep 2/3 white and tint 1/3 with the royal blue food coloring.
- Spread the white frosting across the top of the cooled cake. Note: Use a warm spatula to get that mirror smooth finish.
Phase 3: The Finishing Touches
- Pipe a border of the blue frosting around the edges.
- Using a small round piping tip, pipe 'RN' or the graduate's name in the center.
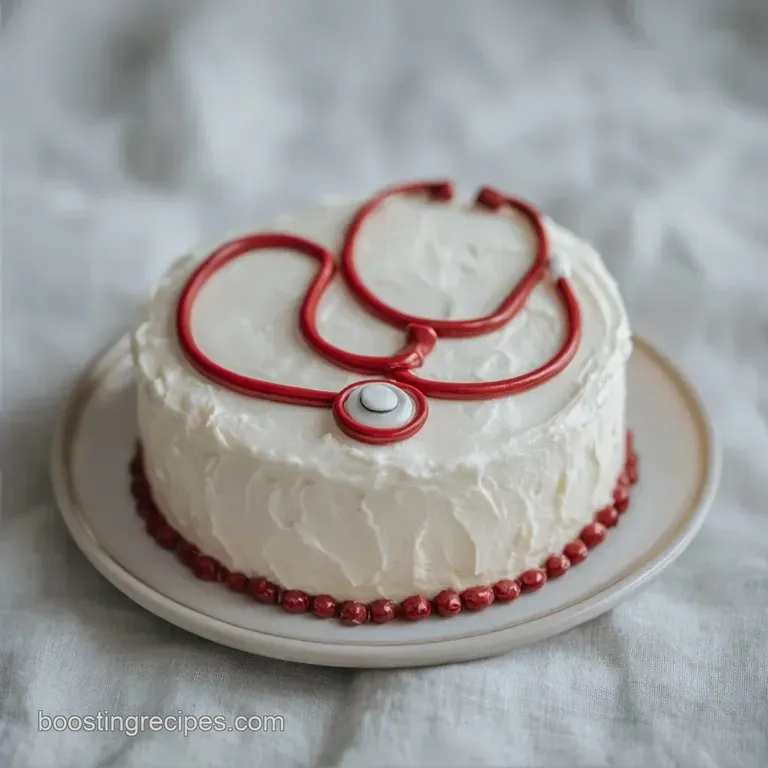
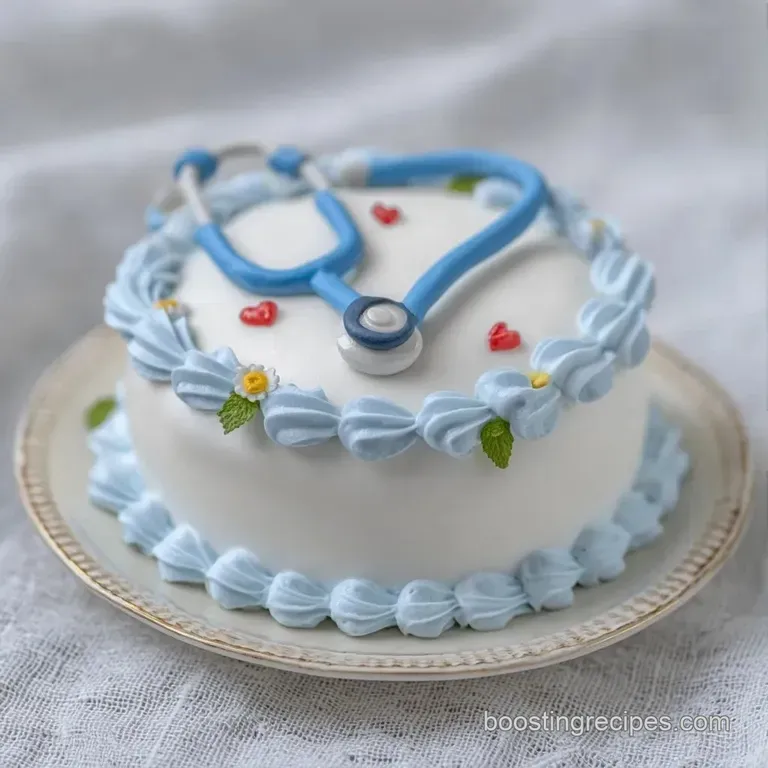
- Roll out the white fondant and shape a nursing cap and a stethoscope. Use a tiny bit of corn syrup to stick them to the cake.
Fixing Common Cake Issues
Even the best of us hit a snag. If your Easy Nursing Graduation Cake isn't behaving, it's usually a quick fix.
Troubleshooting Common Issues
| Issue | Solution |
|---|---|
| Why Your Frosting is Melting | If the frosting is sliding, the cake was likely still warm in the center. You can't see the heat, but it's there. |
| Why Your Cake Domed in the Middle | This happens when the oven is too hot, causing the edges to set before the middle can rise. Next time, check your oven temp with a thermometer. |
| Why the Fondant is Cracking | Fondant dries out quickly. If it's cracking while you shape the stethoscope, you're likely over working it. Knead in a tiny drop of water or vegetable oil to bring back the elasticity. |
Common Mistakes Checklist:
- ✓ Did you grease the pan AND use parchment?
- ✓ Is the butter for the frosting truly softened (not melted)?
- ✓ Did you stop mixing as soon as the flour disappeared?
- ✓ Did the cake cool for at least 2 hours before frosting?
Different Flavors and Swaps
If you want to move away from the classic vanilla, this base is very flexible. For a "Nurse's Fuel" flavor, you can replace the vanilla in the sponge with 2 tablespoons of instant espresso powder dissolved in the milk. It gives the cake a rich, mocha vibe that pairs well with the white frosting.
For a zesty twist, add the zest of one lemon to the batter and a tablespoon of lemon juice to the frosting. It lightens the whole thing up, making it feel less like a heavy dessert and more like a refreshing treat. If you're hosting a full party, these Homemade Samosas make a great salty appetizer to balance out the sweetness of the cake.
For those with dietary needs, a gluten-free option is possible. Swap the AP flour for a 1:1 gluten-free baking blend. Just be aware that the cake will be slightly more fragile, so be extra gentle when moving it from the pan to the serving plate.
Adjusting the Serving Size
You can easily change the size of this Easy Nursing Graduation Cake depending on the crowd.
Scaling Down (Half Recipe): Use an 8x8 inch square pan. Reduce the baking time by about 20% (check at 25 minutes). Since you can't easily halve an egg, beat one egg in a bowl and use half of the liquid by weight.
Scaling Up (Double Recipe): Do not try to bake a double batch in one deep pan; the middle will stay raw while the edges burn. Instead, bake two separate 9x13 cakes. When doubling the frosting, only increase the salt or strong extracts (like almond) to 1.5x to avoid an overpowering taste.
Baking Adjustments: If you decide to make a taller, multi layer cake with this batter, lower the oven temp to 325°F (160°C) and extend the bake time. This ensures the center cooks through without the outside getting too dark.
Debunking Cake Myths
There are a lot of "rules" out there that just aren't true. Let's clear a few up.
Myth: You must use cake flour for a professional result. Truth: All purpose flour works perfectly for a Nursing Graduation Cake because you actually need a bit more structure to hold up the fondant decorations.
Myth: Searing the edges of the cake with a torch makes it taste better. Truth: This is a dessert cake, not a steak. Adding a torch to buttercream just melts the fat and ruins your smooth finish. Keep it cool.
Myth: Room temperature eggs are just a suggestion. Truth: They are critical. Cold eggs can cause the creamed butter to seize up, which destroys those air pockets we talked about earlier, leaving you with a dense cake.
Saving and Storing Cake
Since this is a big cake, you probably won't finish it in one sitting. Here is how to keep it fresh.
Storage: Keep the cake in the fridge in an airtight container or covered with a cake dome. It will stay fresh for up to 4 days. The buttercream acts as a sealant, keeping the sponge moist.
Freezing: You can freeze the unfrosted cake layers. Wrap them tightly in plastic wrap and then foil. They'll last for 3 months. Thaw in the fridge overnight before frosting.
I don't recommend freezing the cake once it's decorated with fondant, as the moisture can make the fondant "sweat" and bleed color.
Zero Waste Tips: If you sliced the dome off the top to flatten it, don't throw those scraps away! Crumble them into a bowl, mix with a bit of frosting, and roll them into "cake pops." It's a great way to use every bit of the batter.
Best Ways to Serve
When it's time to present your Easy Nursing Graduation Cake, do it on a sturdy platter. Since it's a 9x13, it's easiest to cut into clean squares. Use a hot knife (dipped in hot water and wiped dry) for each cut to get those sharp, professional edges.
Pair the cake with something light. A fresh berry medley or a pot of coffee balances the richness of the buttercream. For a totally different vibe, maybe some Asian Chicken Wraps for the main meal before bringing out the dessert.
If you're serving this at a clinic or hospital, make sure to provide small plates and forks. Nothing is worse than trying to eat a piece of decadent cake with a plastic spoon that snaps in half. Place the cake in the center of the table with the 'RN' piping facing the guest of honor for that perfect photo op.
Recipe FAQs
How to get a smooth frosting finish?
Use a warm spatula to spread the frosting. This helps smooth out ridges and creates a professional, sleek surface across the top of the cake.
Do I need to grease the pan if I use parchment paper?
No, parchment paper is sufficient. It provides a reliable non-stick barrier that allows you to lift the cake out easily once it has cooled.
How to attach the fondant nursing cap and stethoscope?
Apply a small amount of corn syrup to the back of the fondant shapes. This acts as a food safe adhesive to secure the decorations to the frosting.
Is it true that I can frost the cake as soon as it feels lukewarm?
No, this is a common misconception. You must let the cake cool completely in the pan, or the butter in the frosting will melt into a puddle.
How to ensure the frosting is stiff enough for piping?
Beat the butter for five minutes until nearly white before slowly adding the powdered sugar. If you enjoyed mastering this stable frosting texture here, the same principle applies to our simple nursing grad cake.
Can I substitute the royal blue food coloring for another color?
Yes, any food coloring works. Simply maintain the ratio of keeping two-thirds of the frosting white and tinting one-third with your chosen color.
How to avoid blobs when piping the name or 'RN'?
Practice your lettering on a piece of parchment paper first. This helps you calibrate the pressure needed for clean, consistent lines before applying them to the cake.
Easy Nursing Graduation Cake