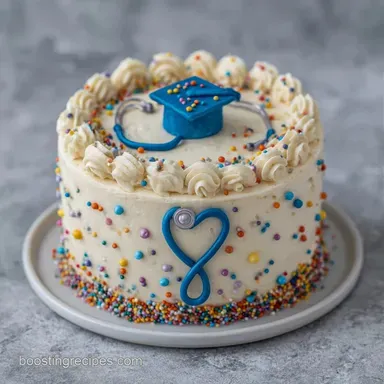
Nursing School Graduation Cake: Velvety Vanilla
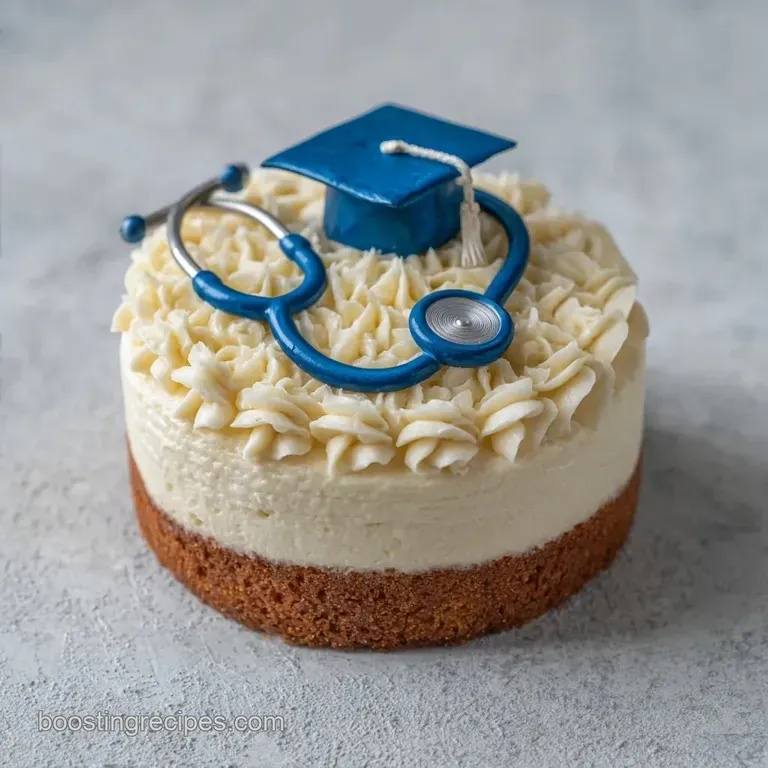
- Time: 20 min active + 135 min cooling/chilling
- Flavor/Texture Hook: Velvety vanilla bean crumb with a silky, smooth buttercream finish
- Perfect for: Nursing school graduation parties or RN celebration dinners
- Nursing School Graduation Cake
- How to Actually Nail This
- Component Analysis
- What You'll Need
- Equipment Needed
- From Prep to Plate
- How to Fix Common Problems
- Troubleshooting Common Issues
- Creative Twists and Swaps
- Adjustment Guidelines
- Baking Beliefs and Truths
- Storage Guidelines
- Perfect Complements
- Recipe FAQs
- 📝 Recipe Card
That specific smell of vanilla bean paste hitting a hot oven is something I'll never forget. It's a warm, comforting aroma that fills the whole house, making everything feel a bit more celebratory.
I remember making a similar treat for a cousin who had just survived her clinicals, and the look of relief and joy on her face when she saw a cake dedicated to her hard work was just as sweet as the frosting.
When you're putting together a Nursing School Graduation Cake, you want something that looks professional but tastes like home. It shouldn't be too airy, or it'll collapse under the weight of the frosting, but it can't be dense like a pound cake either.
You need that middle ground, a slice that's soft enough to melt in your mouth but strong enough to hold a perfectly piped medical cross.
We're going for a clean, "clinical" aesthetic here, but with a heart of gold. This recipe focuses on a smooth finish and a reliable bake, so you can spend less time stressing over the oven and more time celebrating the new nurse in your life.
Let's get into how we actually make this happen without any kitchen disasters.
Nursing School Graduation Cake
To get this right, you need a plan. Most people rush the cooling process and end up with "buttercream soup" because the cake was still warm in the middle. Trust me, I've been there, and it's a mess. The secret is patience.
We'll follow a strict timeline: prep the batter, bake with precision, and then a two stage frosting process that ensures those "RN" letters stay crisp and clear.
A big part of the success here is the emulsion. When you mix your fats and liquids, you're creating a structure. If the milk is ice cold, the butter clumps up, and you get a grainy cake. If the butter is too melted, the cake collapses. Keeping everything at room temperature is the non negotiable part of this process.
Since this is for a graduation, you're likely feeding a crowd. This 9x13 format is the smartest move because it's easier to transport than a tiered cake and provides those consistent, square slices that everyone loves. It's the practical choice for a hectic party schedule.
How to Actually Nail This
The physics of a great cake come down to how air and moisture interact. We aren't just mixing ingredients; we're building a structure.
The Emulsion: Beating the butter, milk, and eggs for exactly 2 minutes ensures the fat and water bind. This creates a uniform crumb instead of a streaky, uneven texture.
Leavening Balance: The baking powder reacts first with the heat, pushing the cake up. Because we're using all purpose flour, the protein content provides enough strength to keep it from sinking in the middle.
Temperature Control: Using room temperature eggs prevents the batter from breaking. According to guidelines from King Arthur Baking, temperature stability is the biggest factor in cake volume.
Frosting Stability: The heavy cream in the buttercream provides a hit of moisture, while the sifted powdered sugar creates the structural "shell" that allows for clean piping.
Right then, before we dive into the ingredients, let's look at the difference between doing this the "fast" way versus the classic way.
| Feature | Fast Method (Box/Shortcut) | Classic Method (This Recipe) | Best For |
|---|---|---|---|
| Texture | Often spongy or artificial | Velvety, tight crumb | Presentation |
| Flavor | One dimensional sweetness | Deep vanilla bean notes | Foodies |
| Stability | Can be too soft for piping | Sturdy and holds shape | Detailed Decor |
And that's why we're going the scratch route. It takes a bit more effort, but the result is a cake that actually tastes like a celebration.
Component Analysis
Understanding what each ingredient does helps you troubleshoot on the fly. If you know the role of the butter, you'll know why you can't just melt it in the microwave.
| Ingredient | Science Role | Pro Secret |
|---|---|---|
| Unsalted Butter | Provides fat for tenderness | Softened, not melted, for air pockets |
| Baking Powder | Creates CO2 bubbles for lift | Sift with flour to avoid "bitter spots" |
| Vanilla Bean Paste | Intense aromatic flavor | Use paste over extract for those black specks |
| Powdered Sugar | Structural bulk for frosting | Sift it always, or you'll get lumps |
One thing I noticed over time is that the vanilla bean paste makes a massive difference. It gives the cake a high end look and a taste that's far more complex than standard extract. If you can find it, use it.
What You'll Need
For the cake base, you'll need items that are at room temperature. If you forget to take the eggs out, just pop them in a bowl of warm water for 5 minutes.
For the Cake
- 2 ½ cups (310g) All purpose flourWhy this? Balanced protein for structure
- 1 ½ cups (300g) Granulated sugarWhy this? Provides sweetness and moisture
- 1 tbsp (12g) Baking powderWhy this? Essential for the rise
- ½ tsp (3g) SaltWhy this? Cuts through the sugar
- ¾ cup (170g) Unsalted butter, softenedWhy this? Creates a tender crumb
- 1 cup (240ml) Whole milk, room temperatureWhy this? Adds richness and hydration
- 3 large eggs, room temperatureWhy this? Binds the ingredients together
- 1 tbsp (15ml) Vanilla bean pasteWhy this? Professional grade flavor
For the "Medical Grade" Buttercream
- 2 cups (450g) Unsalted butter, softenedWhy this? The base for the frosting
- 6 cups (720g) Powdered sugar, siftedWhy this? Creates the smooth texture
- 3 tbsp (45ml) Heavy creamWhy this? Adjusts the consistency
- 1 tsp (5ml) Vanilla extractWhy this? Adds a second layer of vanilla
- 1 drop (1ml) Red food coloringWhy this? For the medical cross/heart
If you're looking for a different style, maybe something for a smaller group, my Simple Registered Nurse Cake is a great alternative. But for a full party, this sheet cake is the way to go.
Equipment Needed
You don't need a professional bakery, but a few specific tools make the "clinical" look much easier to achieve.
- 9x13 inch baking pan: The standard for sheet cakes.
- Parchment paper: This is a must. Don't rely on just grease.
- Electric hand mixer or stand mixer: You need this for the 2 minute beat and the buttercream.
- Offset spatula: For smoothing the frosting into a flat, professional plane.
- Piping bag and round tips: For the "RN" and medical symbols.
- Sifter: To get the lumps out of the powdered sugar.
From Prep to Plate
Let's break this down into the actual flow of the day. I like to think of this in three phases: the build, the bake, and the finish.
The Batter Build
- Preheat your oven to 350°F (175°C). Grease your 9x13 inch pan and line it with parchment paper, leaving a little overhang on the sides. Note: The overhang makes it easy to lift the cake out later.
- In a large bowl, whisk together the all purpose flour, granulated sugar, baking powder, and salt. Make sure there are no large clumps of flour.
- Add the softened butter, room temperature milk, eggs, and vanilla bean paste to the dry ingredients.
- Beat on medium speed for 2 minutes until the batter is smooth and slightly pale. Note: Don't overbeat past this point or the cake will be tough.
The Precision Bake
- Pour the batter into the pan and use a spatula to smooth it into the corners.
- Bake for 30-35 minutes until the edges pull away from the pan and a toothpick in the center comes out clean.
- Remove from the oven and let it cool completely in the pan. I usually wait at least 2 hours. If you're in a rush, you can put it in the fridge for 30 minutes after it reaches room temperature.
The Clinical Finish
- Whip the softened butter, sifted powdered sugar, heavy cream, and vanilla extract together. Start slow so the sugar doesn't fly everywhere, then crank it up until the frosting is fluffy and pale.
- Apply a thin "crumb coat" of buttercream. This is just a thin layer that traps the crumbs.
- Chill the cake in the refrigerator for 30 minutes. Note: This is the secret to a smooth finish.
- Apply the final thick layer of white frosting, smoothing it with the offset spatula.
- Use the red tinted frosting to pipe a heart or medical cross, then use white frosting to pipe 'RN' or 'Congrats Grad!'.
How to Fix Common Problems
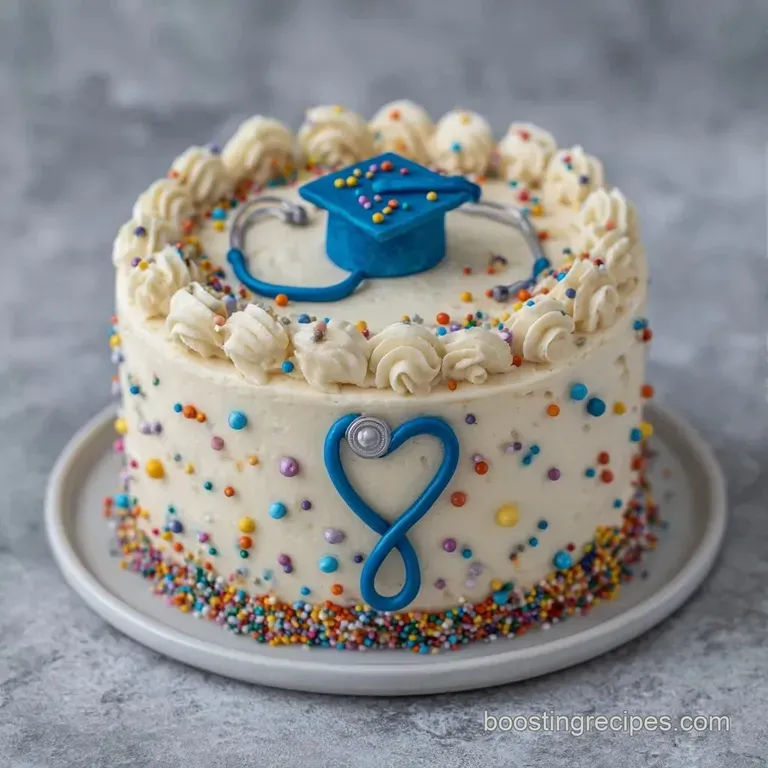
Even the best of us hit a snag. Usually, it's a temperature issue or a timing mistake.
Troubleshooting Common Issues
| Issue | Solution |
|---|---|
| Why Your Buttercream is Too Runny | If the frosting feels like glaze, it's usually because the butter was too soft or the kitchen is too hot. This happens a lot in the summer. |
| Why the Cake Domed in the Middle | A dome usually happens if the oven is too hot or the baking powder was slightly too much. It's an easy fix with a serrated knife. |
| Why There Are Air Bubbles in the Frosting | These come from whipping too much air into the buttercream. You can fix this by stirring the frosting by hand with a spatula for a few minutes to push the air out. |
Common Mistakes Checklist
- ✓ Did you sift the powdered sugar? (Lumps ruin the look)
- ✓ Is the cake completely cold? (Warm cake = melted frosting)
- ✓ Did you use room temp eggs? (Cold eggs break the emulsion)
- ✓ Did you use parchment paper? (Preventing sticks is key)
- ✓ Did you do the crumb coat? (Skip this and you'll see crumbs in the final layer)
Creative Twists and Swaps
While the classic vanilla is a crowd pleaser, you can tweak this Nursing School Graduation Cake to fit the graduate's tastes.
The Night Shift Chocolate Swap
For a chocolate version, replace ½ cup of flour with high-quality cocoa powder and increase the milk by 2 tablespoons. It's a richer, darker cake that pairs great with a raspberry filling.
The Heart Health Strawberry Twist
You can fold in finely diced, freeze dried strawberries to the batter for a pop of color and a tart flavor. This works beautifully if you use a light pink frosting instead of pure white.
Gluten-free Modification
You can use a 1:1 gluten-free flour blend. However, the cake may be slightly denser. I recommend adding an extra egg white to help with the lift and airy texture.
Dairy-free Alternative
Replace the butter with a high-quality vegan butter stick and the milk with full fat oat milk. For the frosting, use vegan butter and a splash of almond milk instead of heavy cream.
If you're feeling overwhelmed by the decorating, you might want to check out my Easy Nursing Graduation Cake for some simpler design ideas.
Adjustment Guidelines
Scaling a cake isn't as simple as doubling everything, especially with leavening agents and pan sizes.
Scaling Down (Half Recipe) If you only need a small cake, use an 8x8 inch square pan. Reduce the baking time by about 20%, and start checking for doneness at 25 minutes. Since the recipe calls for 3 eggs, beat one egg in a cup and use exactly half of it.
Scaling Up (Double Recipe) If you're making two 9x13 pans, don't just double the salt and baking powder, increase them by 1.5x instead to avoid a metallic taste. Work in batches if your mixer is small to ensure the emulsion stays stable.
Baking Large Batches When baking multiple cakes at once, lower the oven temperature by 25°F (to about 325°F) and extend the bake time. This ensures the heat distributes evenly and the cakes don't peak or crack.
| Goal | Adjustment | Result |
|---|---|---|
| Smaller Crowd | 8x8 pan / Half ingredients | Quicker bake, less waste |
| Huge Party | Two 9x13 pans / 2x batter | More servings, longer bake |
| Lighter Texture | Add 1 extra egg white | Airier, softer crumb |
Baking Beliefs and Truths
There are a few things people always say about cake that aren't actually true. Let's clear those up.
The Over Mixing Myth: People say that any over mixing ruins a cake. While true for some, the "two minute beat" in this recipe is actually necessary to emulsify the fats. The danger is beating it for ten minutes, not two.
The High Fat Butter Myth: Some think that "European style" butter with higher fat is always better. While it tastes richer, it can actually make the cake too tender, causing it to crumble when you slice it. Standard unsalted butter is safer for a Nursing School Graduation Cake.
The Room Temp Myth: Many believe "room temperature" is just a suggestion. In baking, it's a requirement. Cold ingredients don't trap air, and without air, your cake becomes a brick.
Storage Guidelines
A cake this size is a lot of food, so you'll likely have leftovers. Here is how to keep it fresh.
Fridge Storage Keep the cake in an airtight container or a cake carrier in the fridge for up to 5 days. Because of the buttercream, it stays moist. Just let a slice sit at room temperature for 20 minutes before eating so the butter softens back up.
Freezer Storage You can freeze the unfrosted cake layers. Wrap them tightly in plastic wrap and then foil for up to 3 months. Thaw in the fridge overnight before frosting. I don't recommend freezing the frosted cake, as the buttercream can pick up "freezer smells."
Zero Waste Tips If you have cake scraps from leveling the top, don't toss them! Crumble them up, mix with a bit of extra frosting, and roll them into cake pops. It's a great way to use every bit of that Nursing School Graduation Cake and gives you a second treat for the party.
Perfect Complements
A rich vanilla cake needs something to cut through the sweetness.
I love serving this with a pot of strong black coffee or a sharp Earl Grey tea. The bitterness of the tea balances the sugary buttercream perfectly. If you want a side dish, a platter of fresh berries, strawberries, blueberries, and raspberries, adds a fresh, acidic contrast that cleanses the palate between bites.
For those who want something a bit more indulgent, a glass of chilled Prosecco or a sparkling cider makes the occasion feel even more like a milestone. It's all about creating a balanced spread that celebrates the graduate without leaving everyone in a sugar coma.
Recipe FAQs
What is the traditional color for nursing graduation cake frosting?
White and red are standard. Use a white base for a clean look and red-tinted frosting to pipe medical symbols like a heart or cross.
How to congratulate a graduate nurse with a dessert?
Bake a customized sheet cake. Use white frosting to pipe 'RN' or 'Congrats Grad!' to make the celebration personal and thoughtful.
What are some DIY nurse graduation gifts you can make?
Bake a themed dessert from scratch. If you need a faster alternative to a cake, try making double chocolate banana cupcakes for a portable treat.
How to fix buttercream that is too runny?
Chill the frosting in the refrigerator. This consistency usually occurs when the butter is too soft or the kitchen temperature is too high.
Why did my nursing graduation cake dome in the middle?
The oven was likely too hot. This can also happen if too much baking powder was used, but it is easily fixed by leveling the top with a serrated knife.
How to remove air bubbles from the final frosting?
Stir the frosting by hand with a spatula. This removes the excess air whipped into the buttercream for a smoother finish.
How long can I store the frosted cake in the fridge?
Up to 5 days in an airtight container. Let slices sit at room temperature for 20 minutes before eating so the butter softens.
Nursing School Graduation Cake: Silky